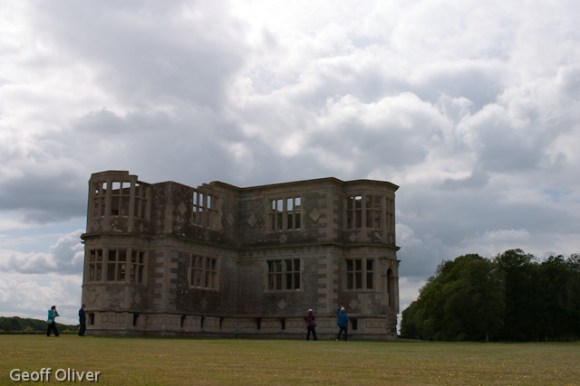
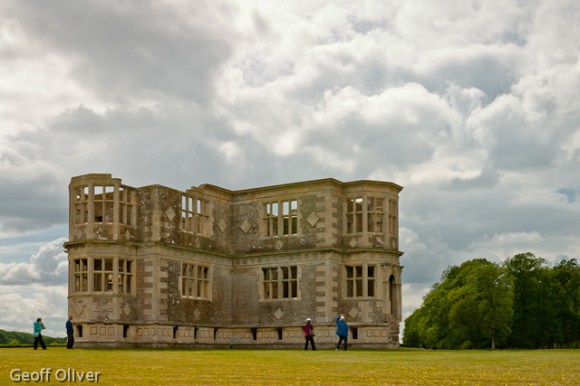
After the disappointing outcome of my first attempt at Time-Lapse photography, I decided to have another go but this time using the lessons learned first time around. Back to Lyveden New Bield then but on a very different day to my previous visit. Where it had been blue sky and whispy white clouds previously, this time the sky was filled with grey clouds but at least there was sufficient wind to keep them moving long nicely.
I wanted to shoot straight into the wind as I had last time but getting the direction proved to be really tricky as the wind on the ground was coming from one direction and the clouds appeared to be moving in a different direction. Once I settled on a location, more or less facing the wind, I set up my tripod as before but this time I set my camera to manual exposure to ensure that every frame would be exposed exactly the same, no matter whether the sun came out or not.

Setting the correct exposure wasn’t easy as I was shooting into the light and the building itself was in shadow. I knew that if I had exposed for the building, the sky would have been burned out. Knowing that I could recover the buiding using the “Fill Light” slider in Lightroom, I exposed for the much brighter sky while using the clipping indicator on my camera’s histogram display to ensure no areas would be burned out. Then I set my timer remote to take an exposure every 10 seconds and let it run for around 30 minutes giving me 188 frames in total.

One of the great advantages of working in Lightroom is the ability to change the settings on one image, and then transfer those settings to every other image in the sequence. For these images, “Fill Light” was needed to lighten the shadow areas, a tweak on the “Blacks” slider to bring back the contrast, and a little tone curve adjustment was all that was needed. Oh, and a tweak in the “Lens Correction” area to restore the verticals on the building. I deliberately left in the wandering people to give a little scale to this massive building but I carefully removed any stray flying birds using the “Spot Removal” tool to ensure no black specs appeared in the sky.
Click here to see the finished sequence (YouTube)
Geoff
